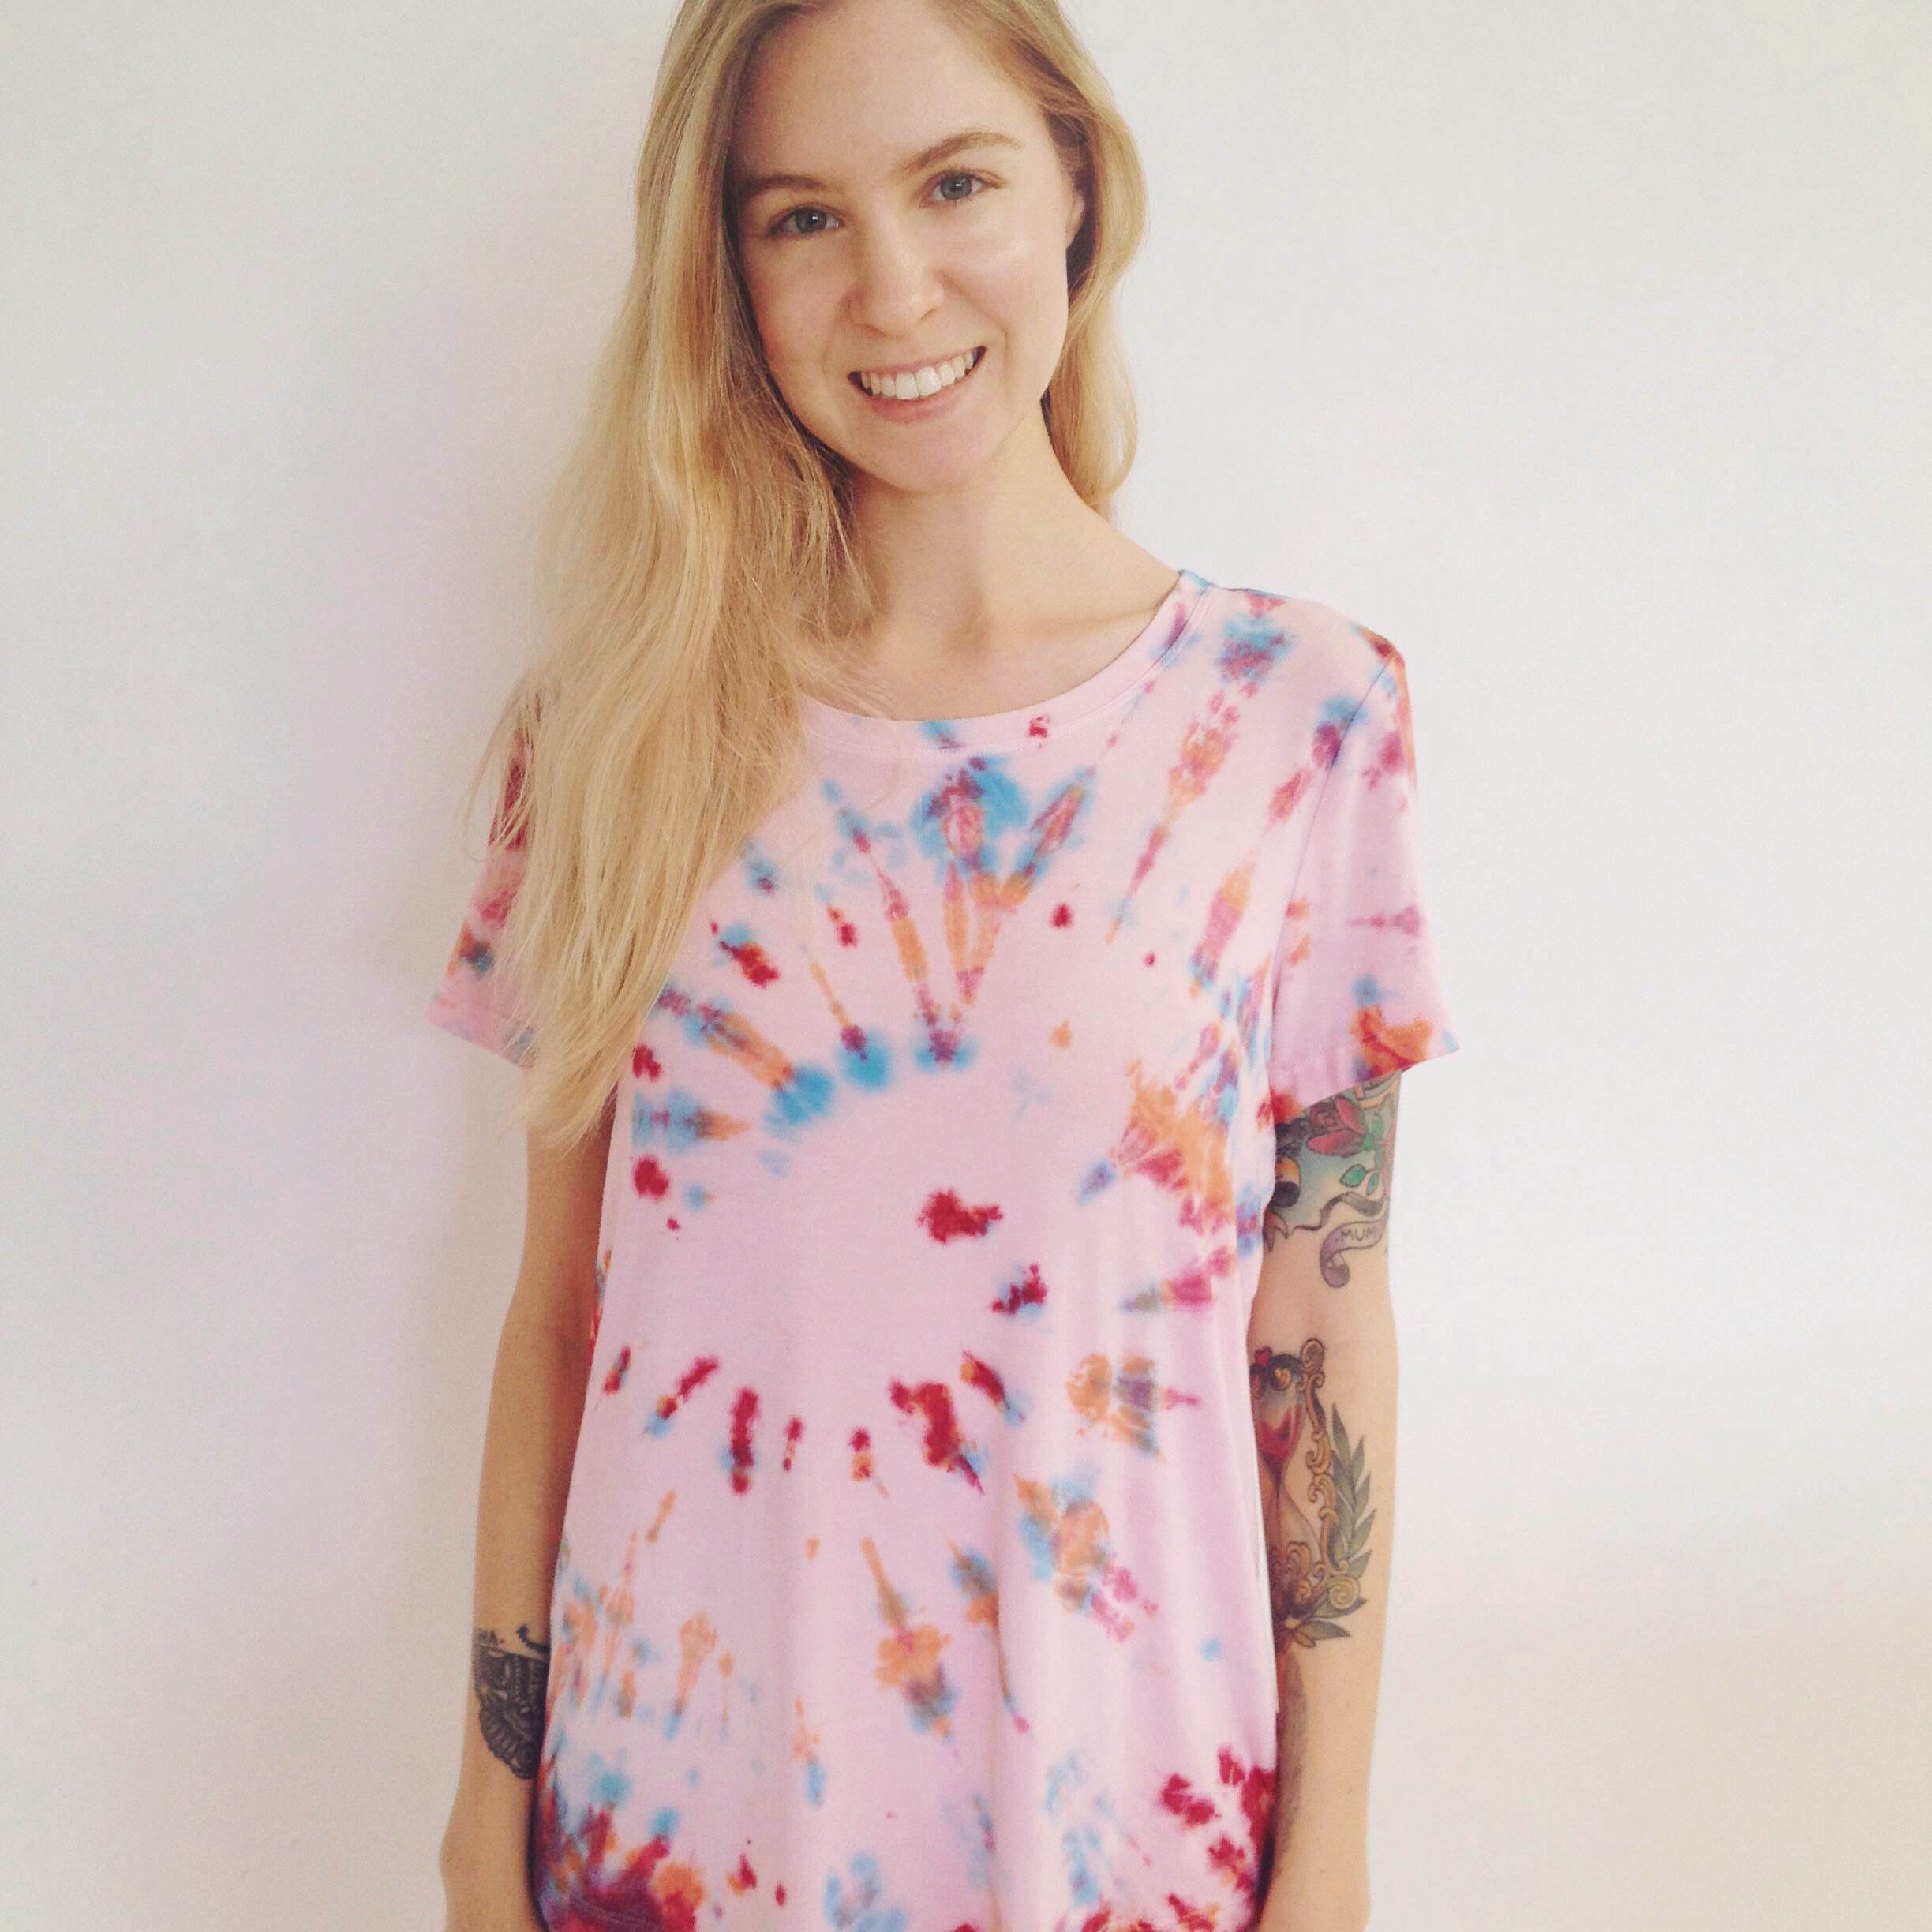
A to the Z - Tie-Dye T
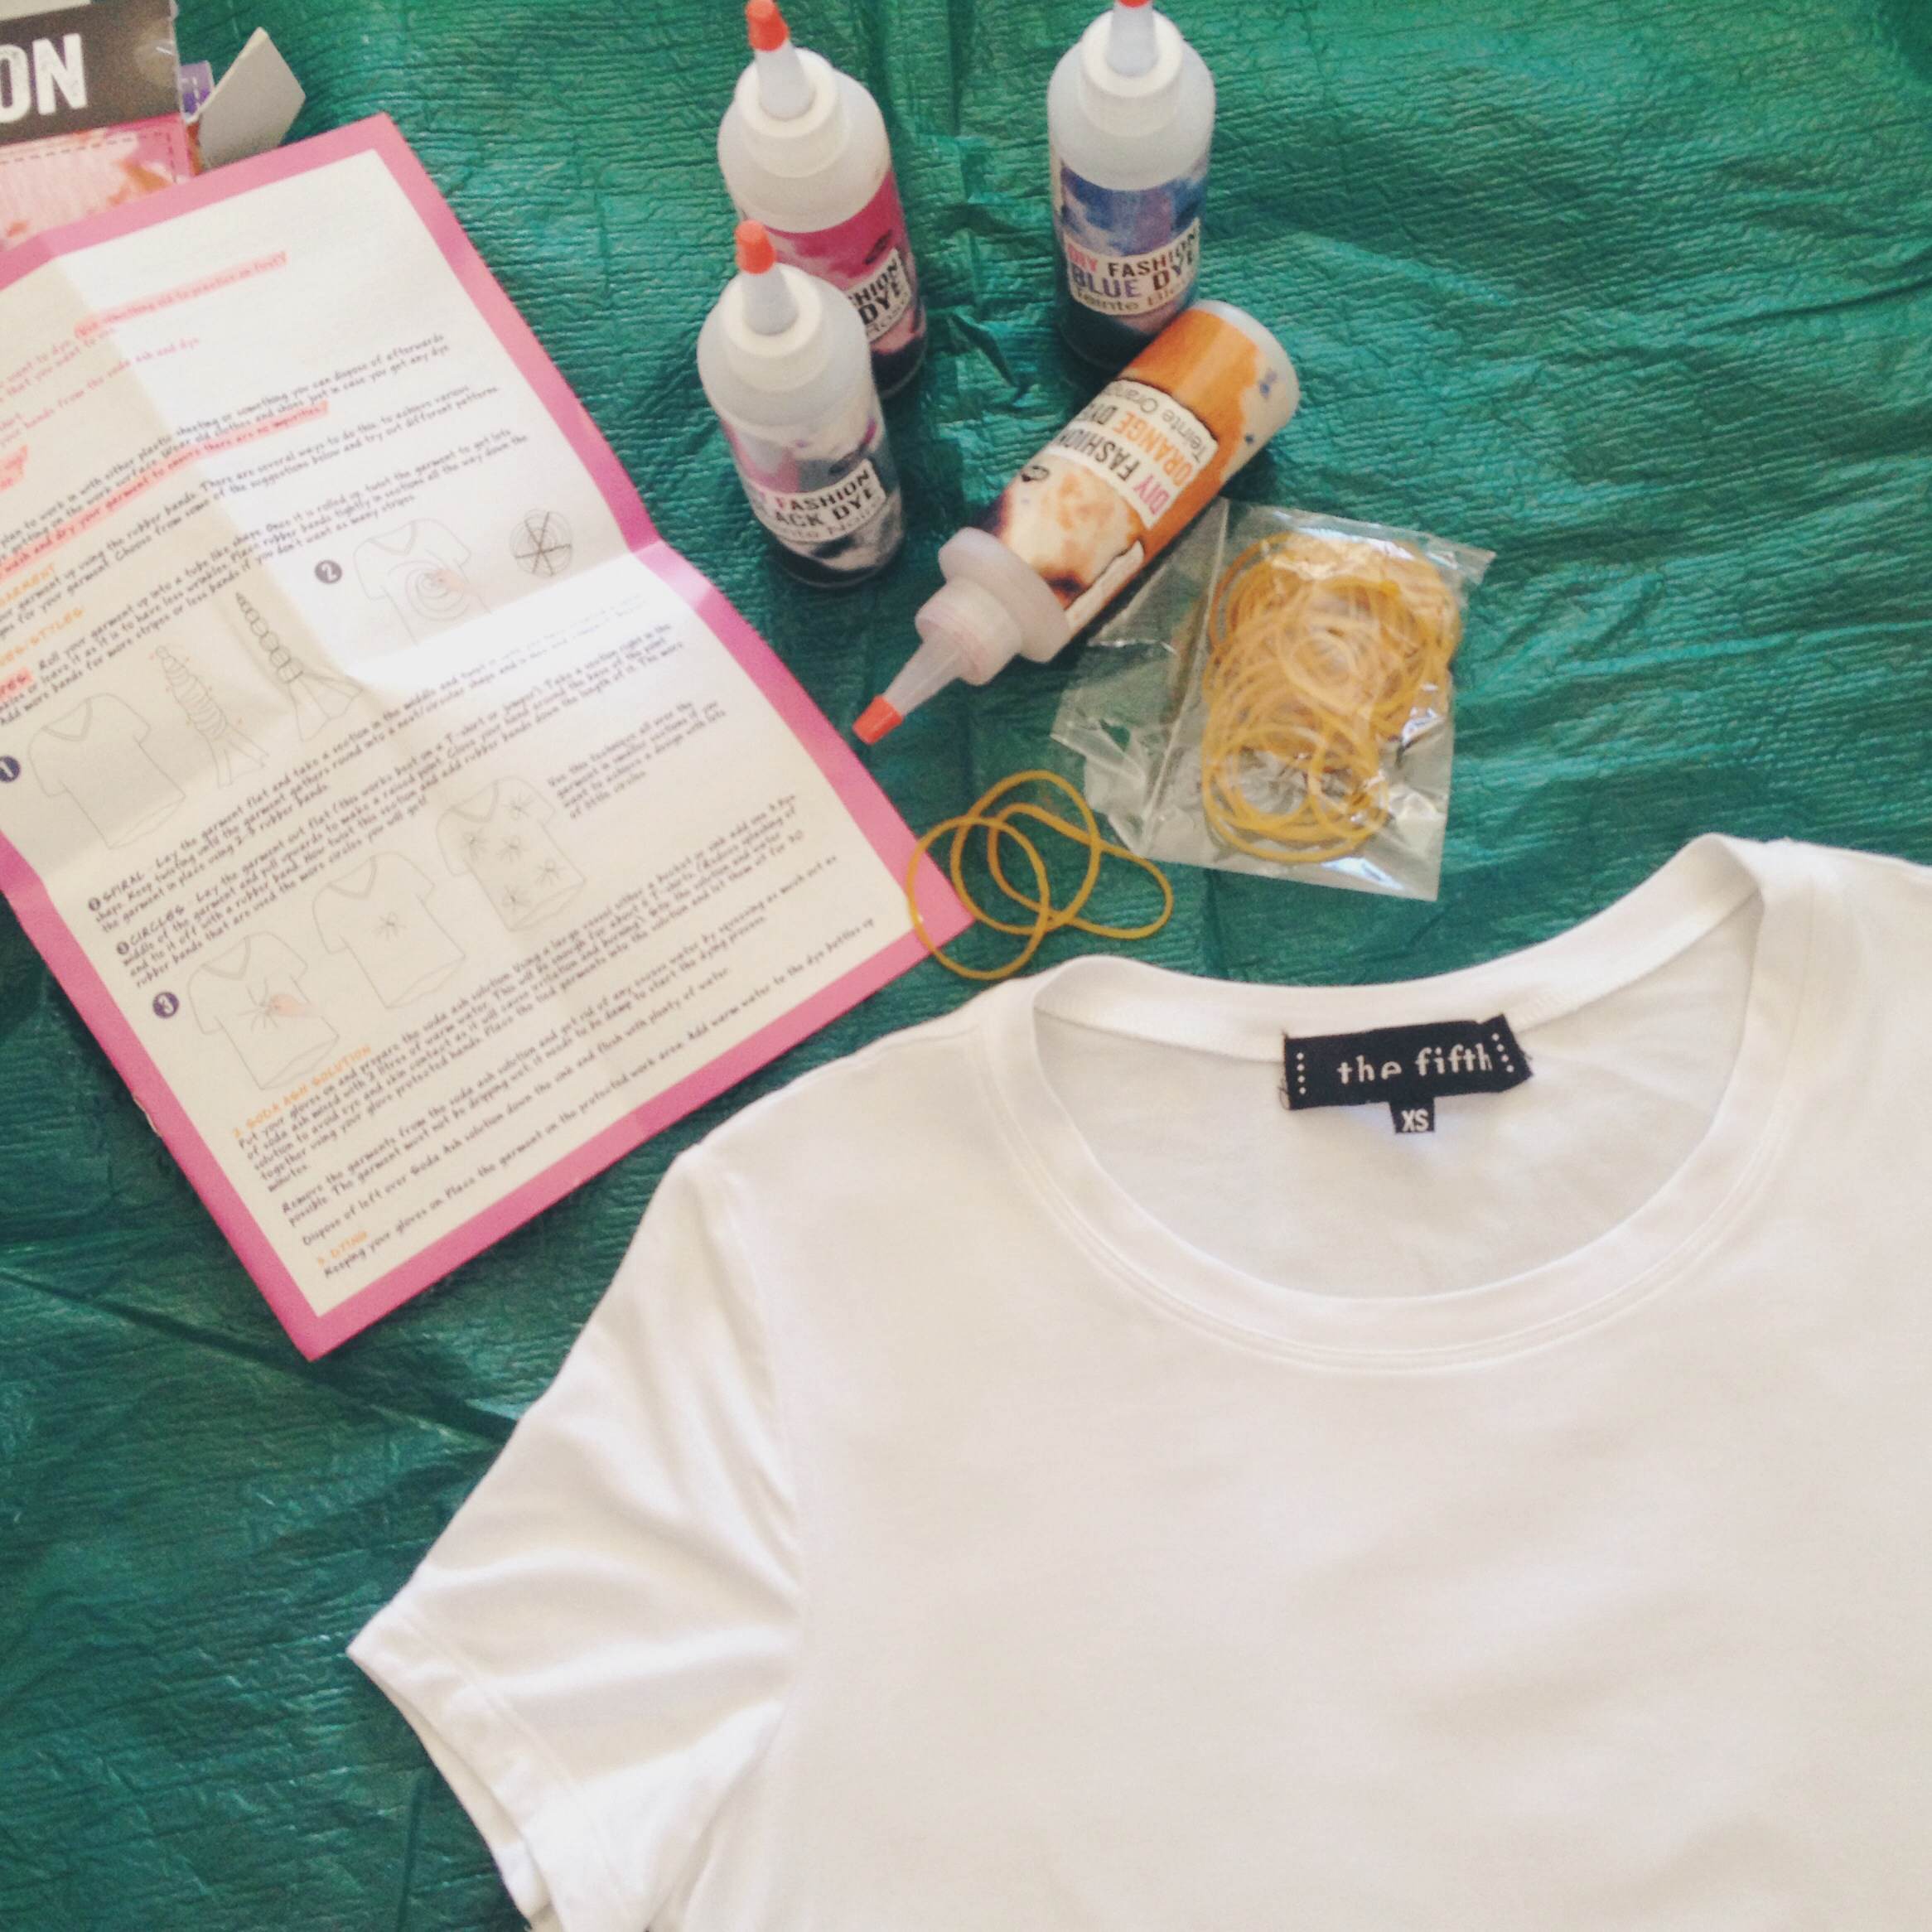
The über creative team at NPW have brought us a delightful DIY Tie-Dye Kit! One of our fave cuties Abby decided to get her hands dirty and add a bit of that 70’s vibe to her wardrobe! Check out the HOW TO; You will need:
- A light coloured garment
- A protected working area
- A bucket or sink
- Plastic bag or wrap
- Water
Kit includes:
- Dye bottles
- Soda ash
- Rubber bands
- Rubber gloves
To Prepare:
To protect the space you plan to get creative in, ensure you have laid out plastic sheeting or anything of the likes which you can dispose of afterward. This will stop any dye spilling onto your work surface. To be extra careful, wear old clothing and shoes just in case! Pre-wash the garment you would like to use to ensure there are no impurities.
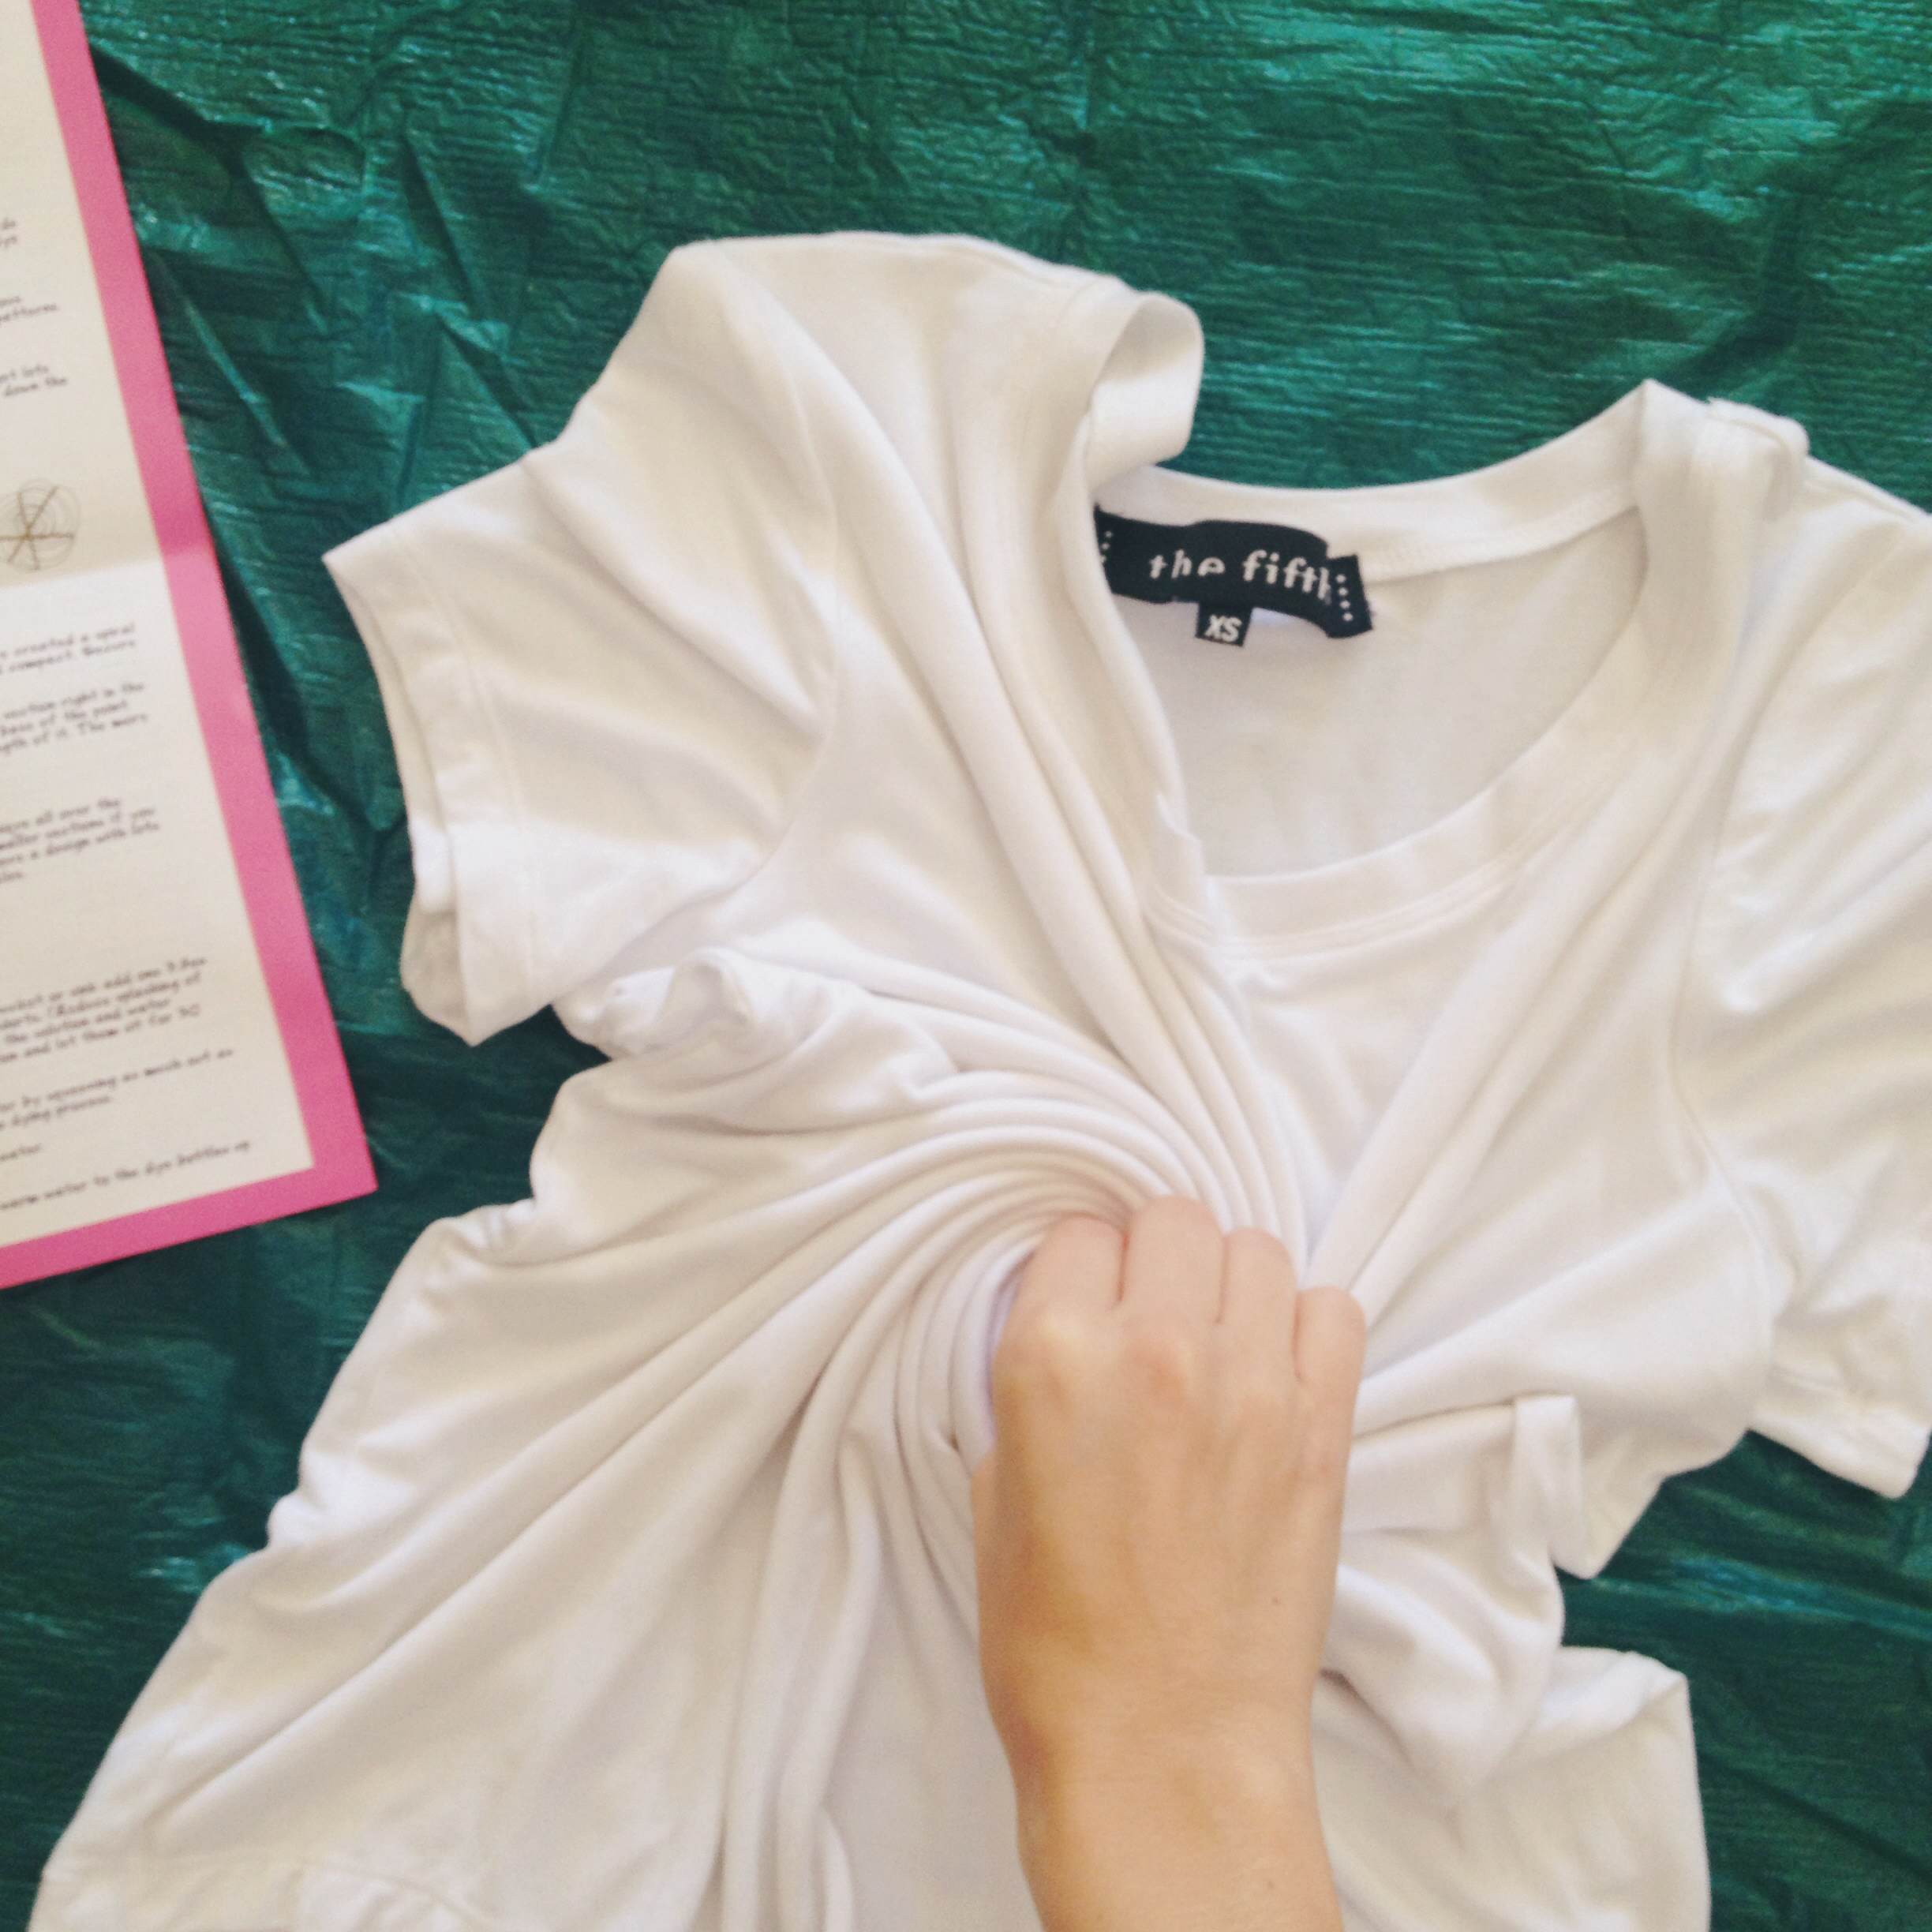
Step 1: Tying your garment
There are various ways to tie your garment to create the perfect tie-dye pattern! If you’re feeling adventurous, this is the perfect opportunity for you to come up with your own technique. We went with spiral, here’s how…
Lay the garment flat and take a section from the middle and twist it until you have created a spiral shape. Keep twisting until this is no longer possible and your garment is nice and compact. Secure the spiral by placing 2-3 rubber bands around it like so.


Step 2: Soda ash solution
Pop your gloves on to prepare the soda ash solution. Using a large bucket or sink, add one 3.5oz of soda ash mixed with 2 litres of warm water. This will be enough for about 6 tees (use less if needed). Stir the solution with your hands until the soda ash has completely dissolved. Place your garment into the solution and let it sit for 30 minutes. Remove from the solution, and get rid of any excess water by squeezing as much out as you can. The garment should be damp, but not dripping wet. Dispose of leftover soda ash solution and flush with plenty of water.

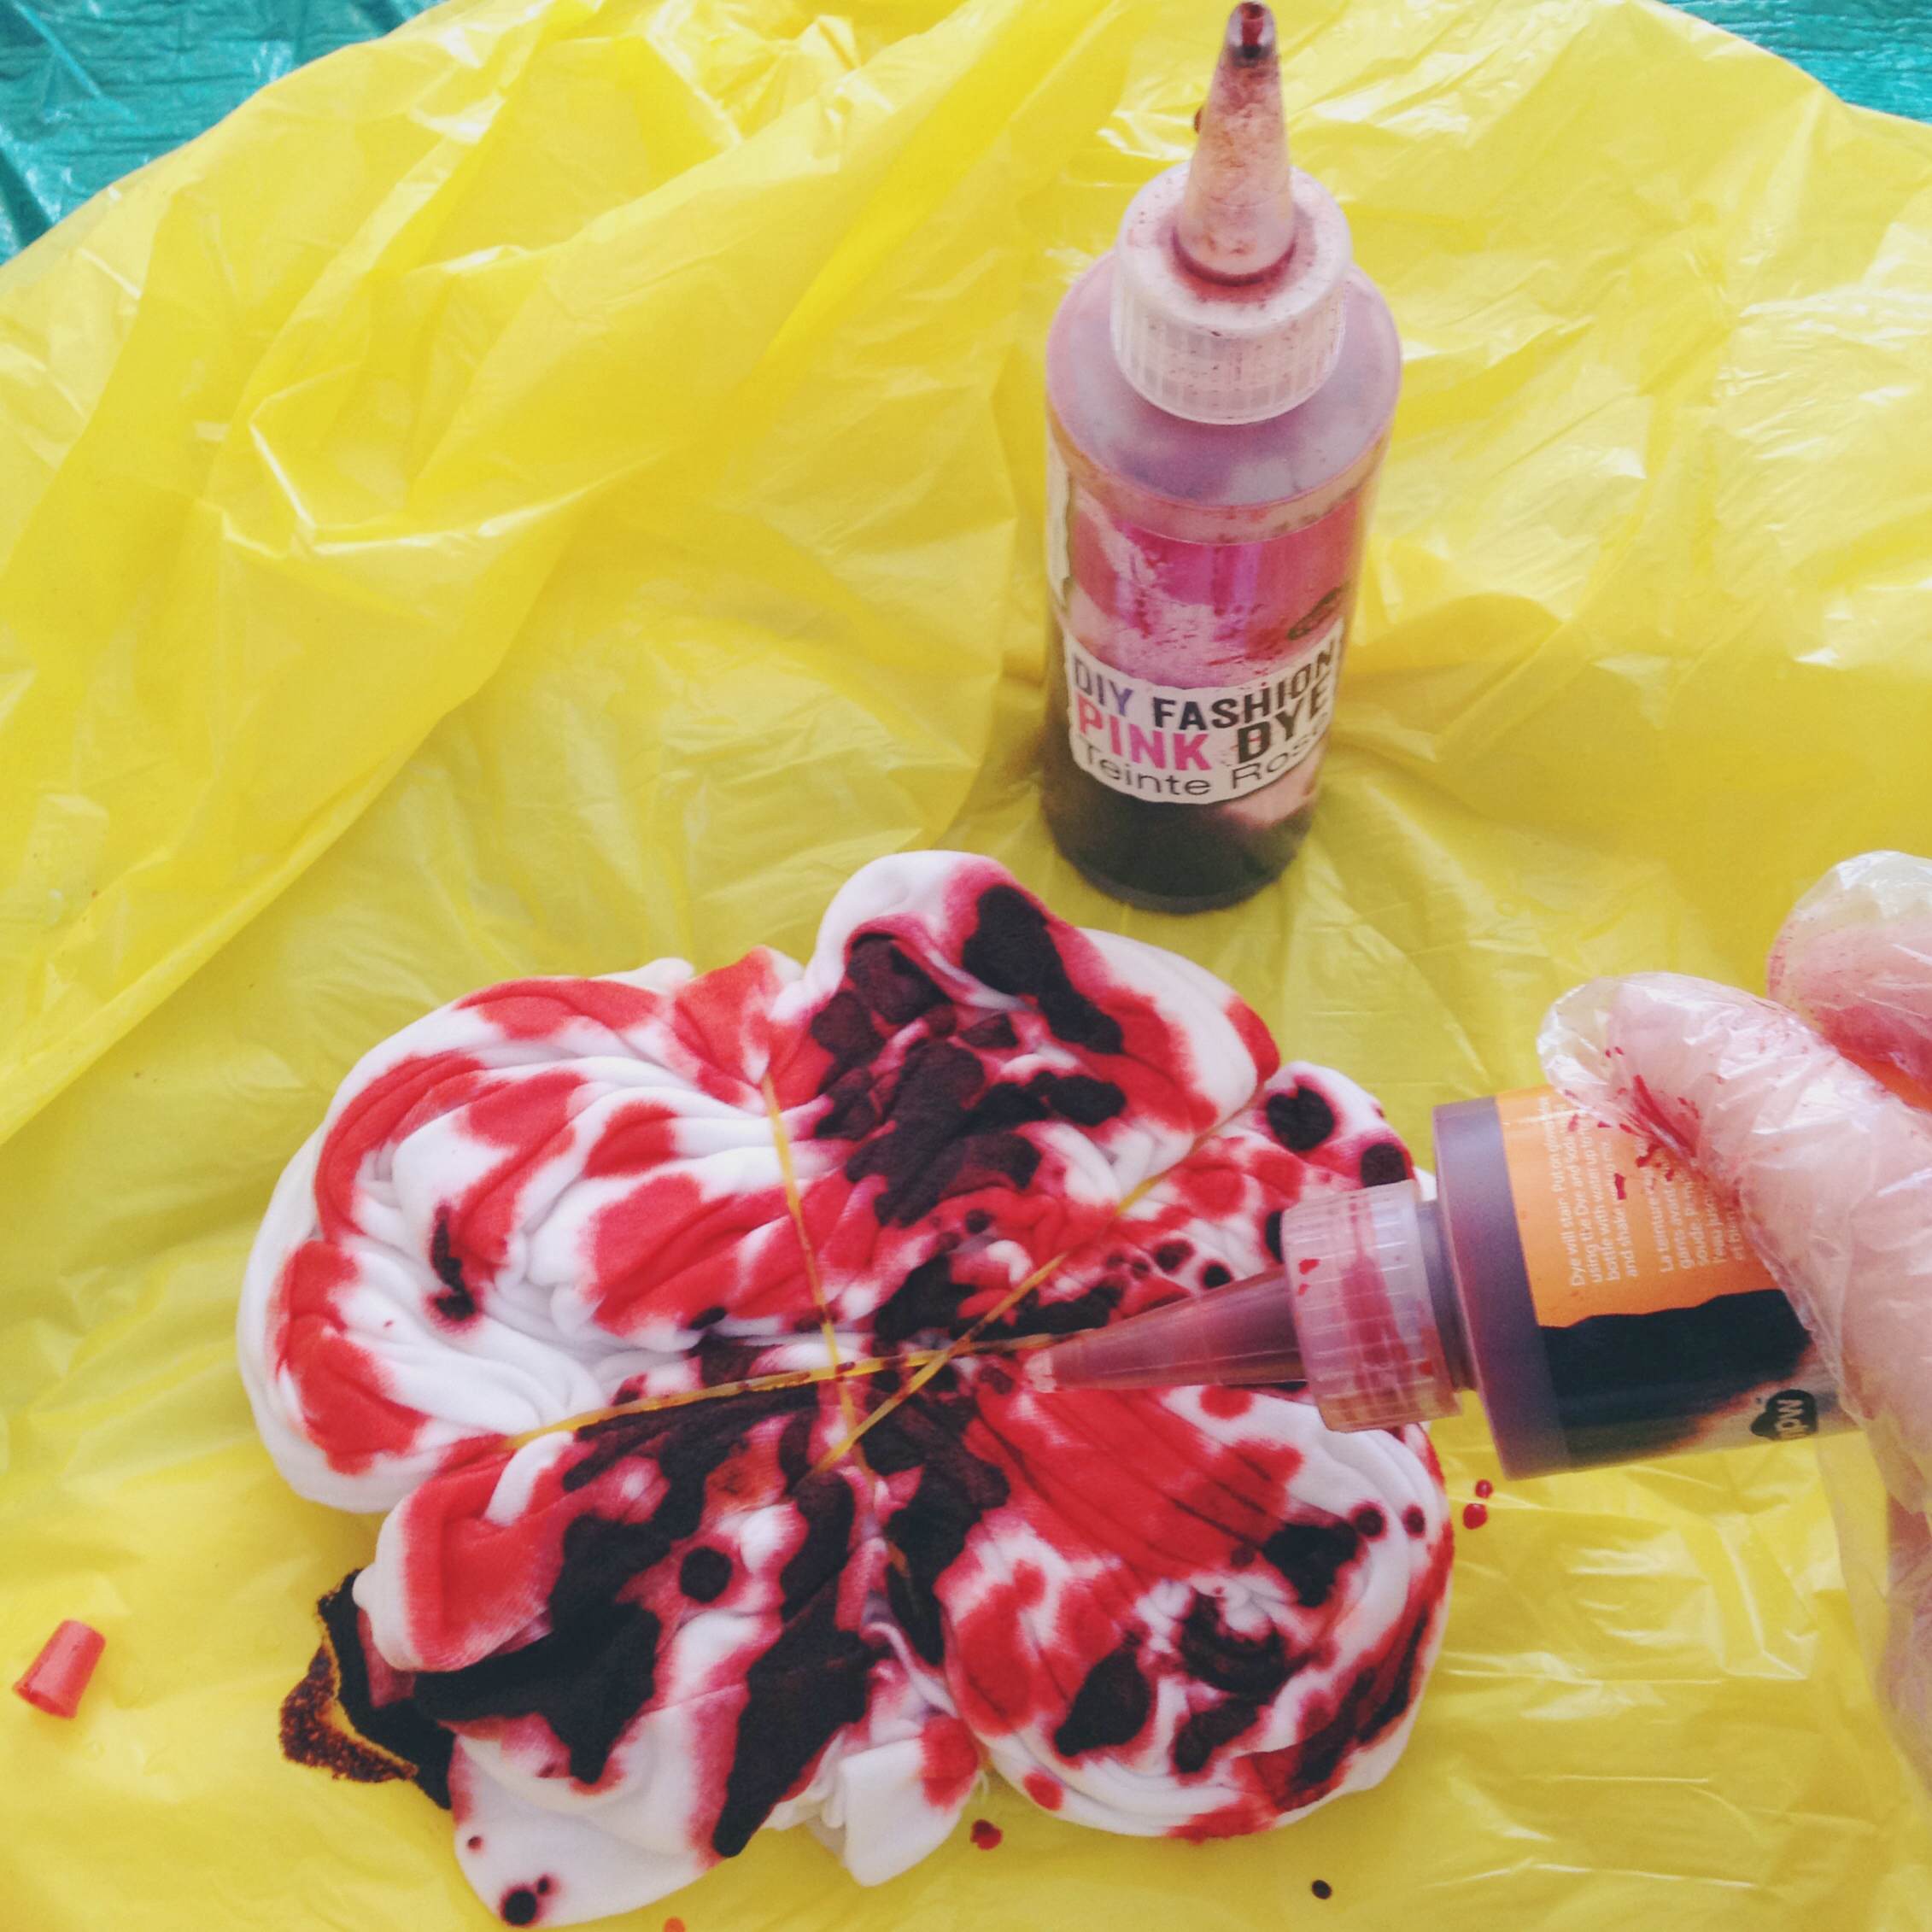
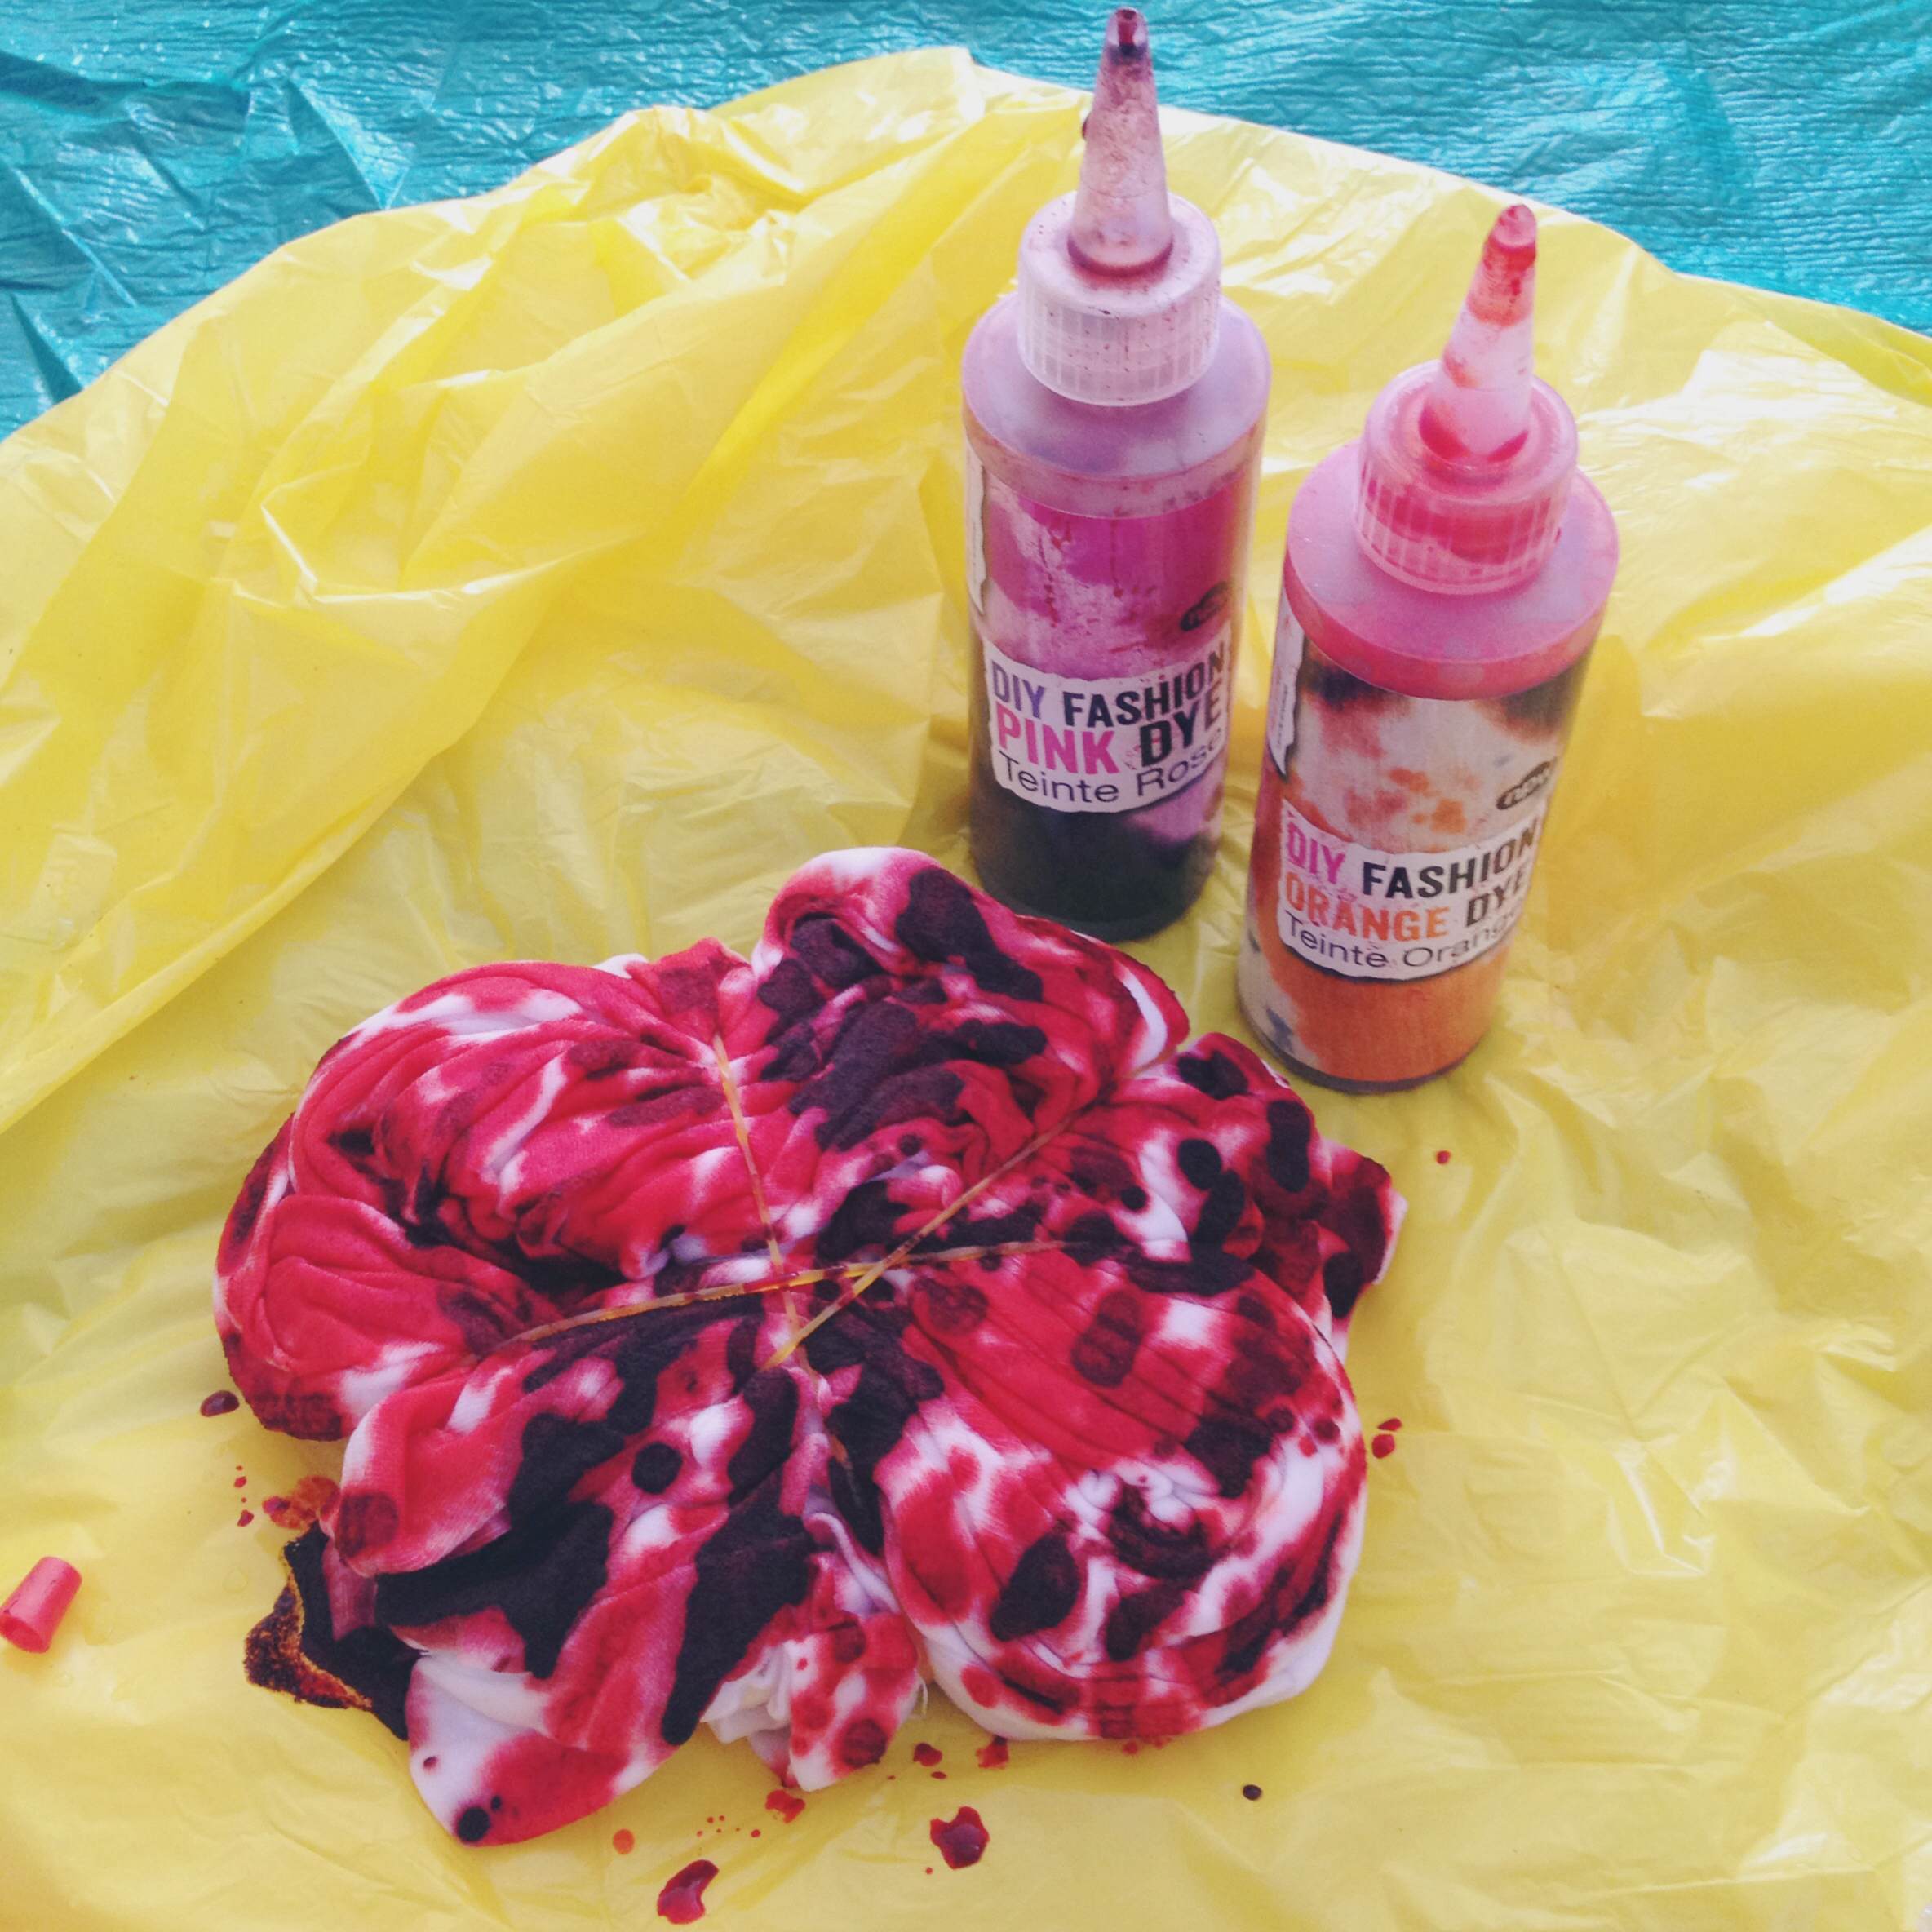
Step 3: Dying (THE FUN PART!)
Using your glove-protected hands, place the garment on your protected working area. Add warm water to your dye bottles up to the line indicated on the side of the bottle. Pop your lid back on and carefully shake the water to loosen all the powder to form your dye colour. Once you’re happy with the consistency of the dye, start to squirt the dye on your garment in desired spots! This is where you can make the finest mess! Use as many colours as you like ensuring the garment is completed saturated in dye! Once you’re finished with the dye, leave the garment tied up and allow to sit for 8-24 hours (overnight is best). Pop it into a plastic bag and secure it tight so the dye does not dry up.


Step 4: Washing
Popping your gloves back on, remove the rubber bands and rinse the garment under cold water until all the dye has washed away. Wash your garment on its own, on a normal wash setting, than allow it to dry. Once your garment is dry, it is ready to wear!!
FIN.