SHOOT DAY SECRETS: 5 STEPS TO THE PERFECT CAT EYE

5 steps to the perfect cat eye featuring Barry M. Blink Precision Eye Liner

∘∘∘

1. Draw the first flick.
Draw a diagonal line starting from the bottom corner of the outer eye upwards and stopping where you want the wing or cat eye to stop. Shorter for a small wing and longer for a big, more extravagant wing.
TIP: The longer the first line you draw; the bigger the wing! Practice what kind of wing suits you and the look you're trying to create before you unveil your new look to the world!
∘∘∘
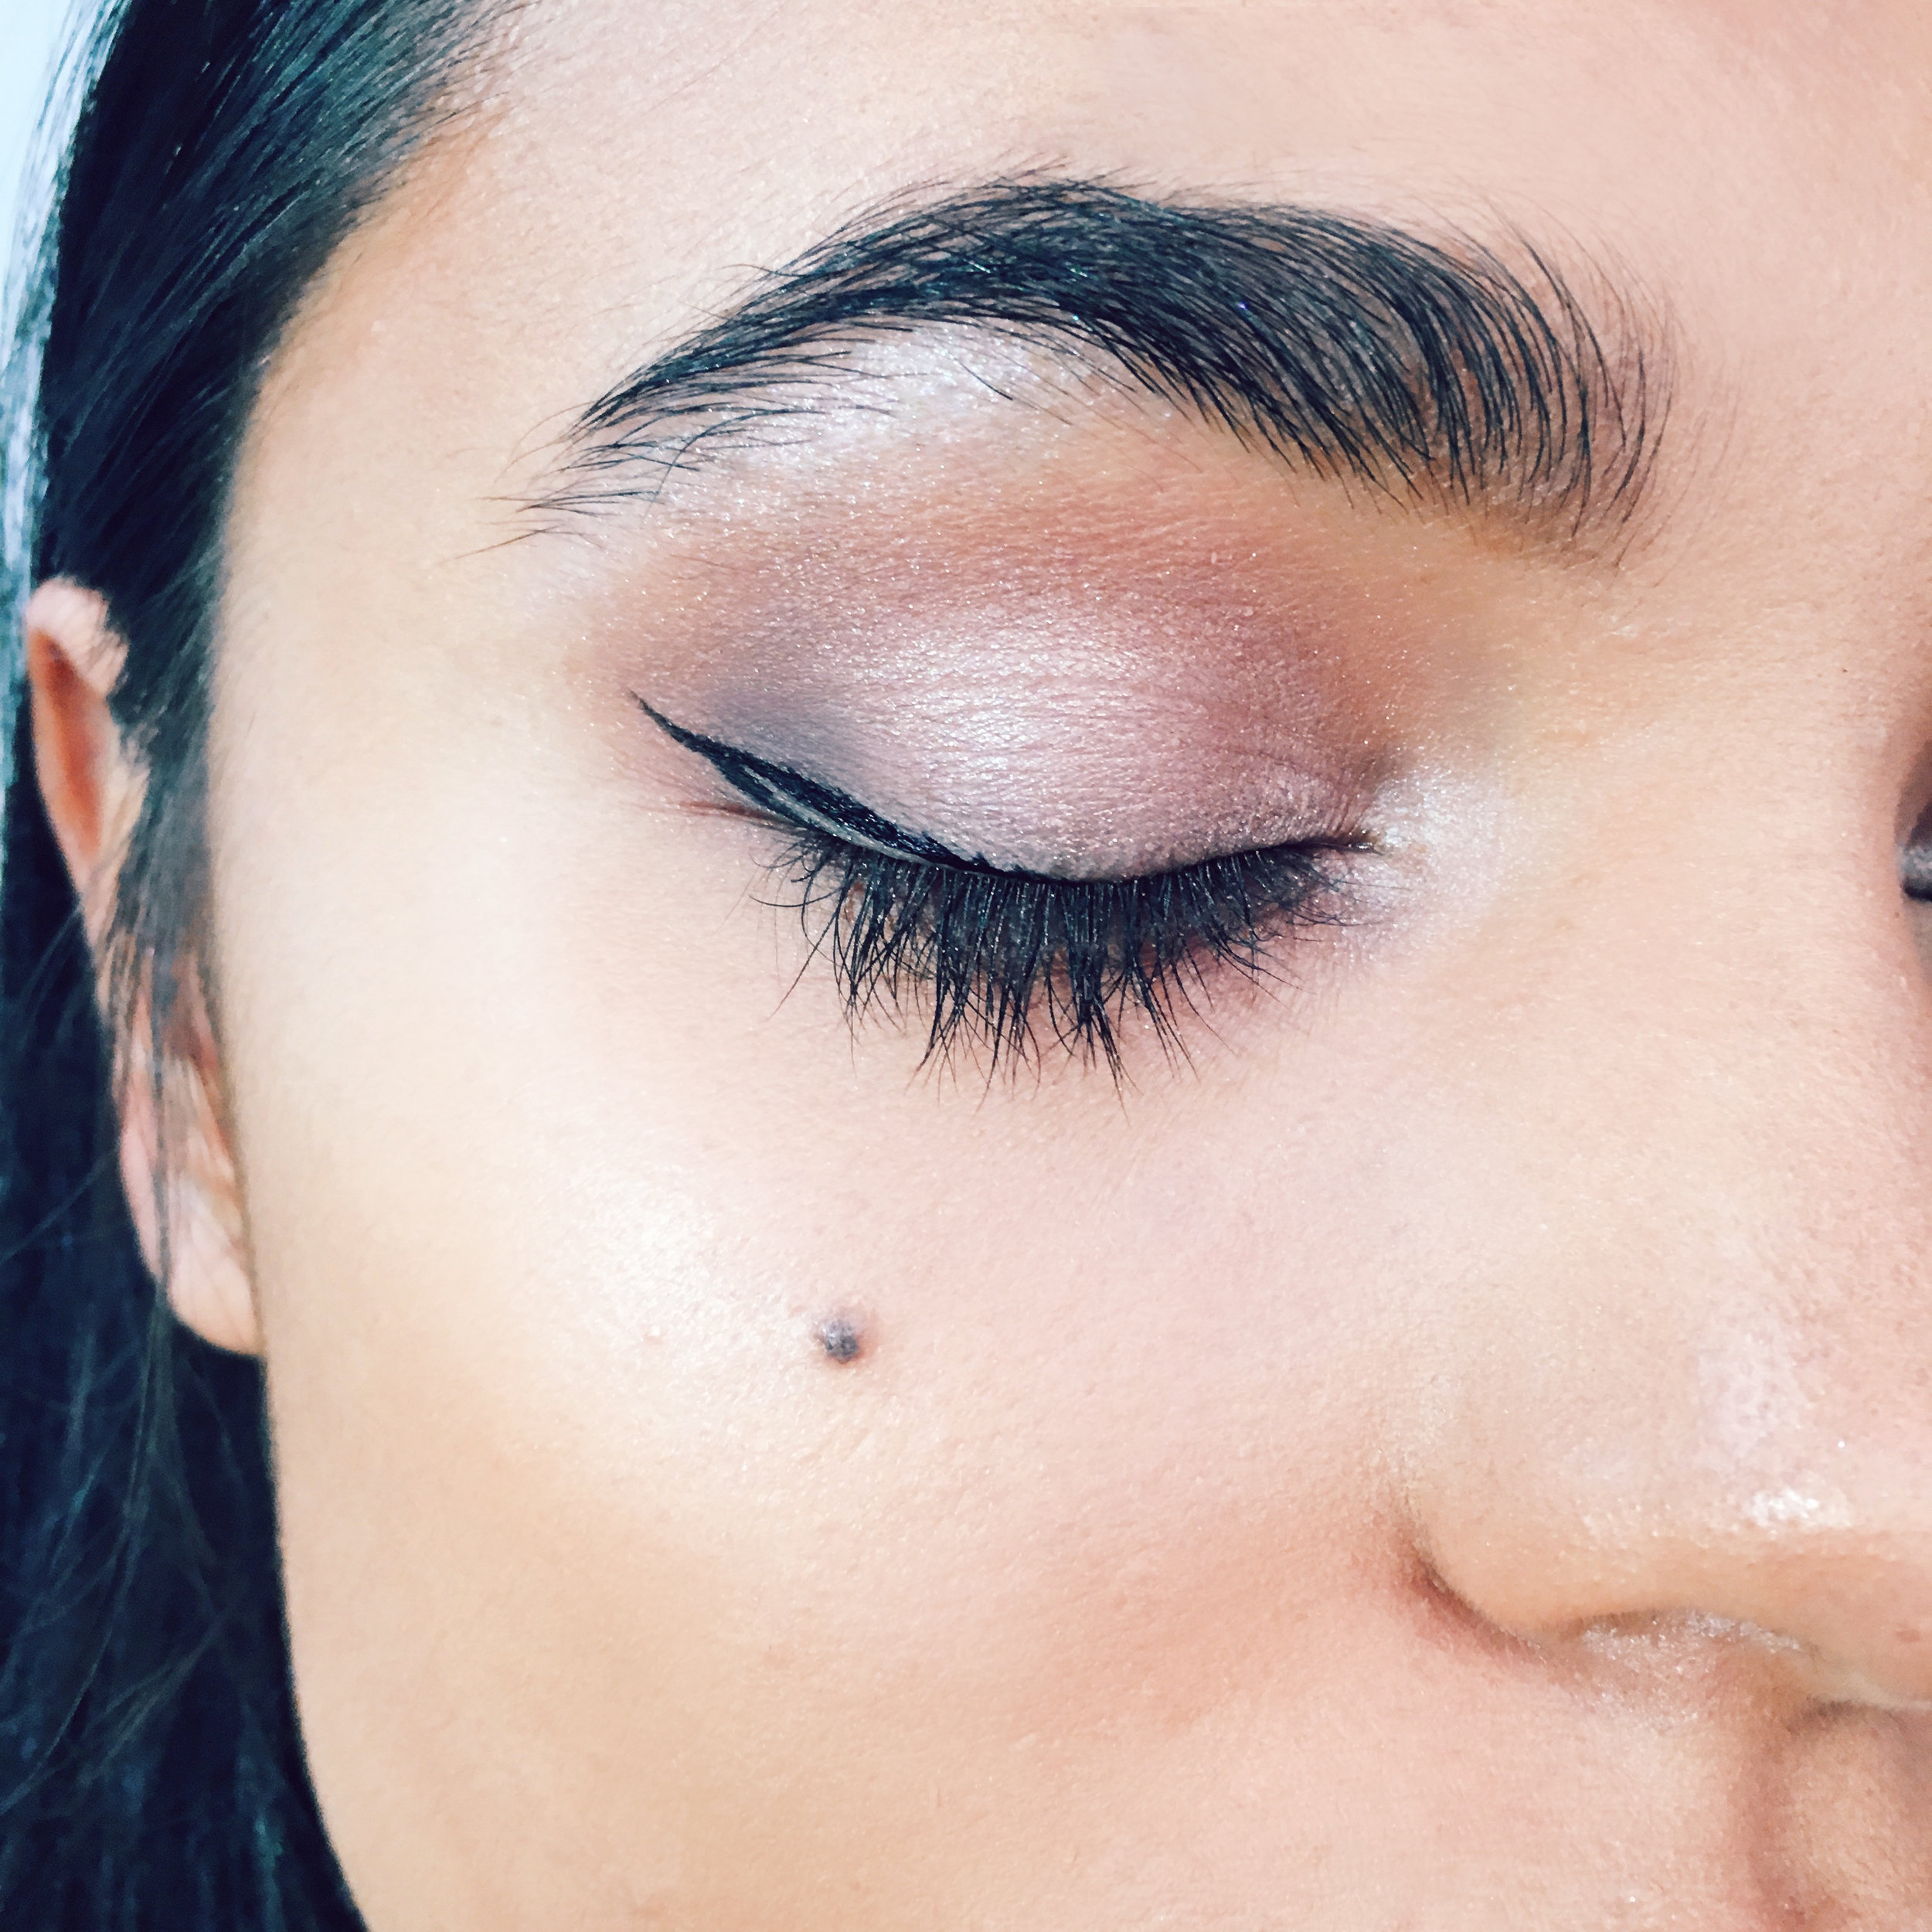
2. Complete the outline of the wing.
Start a quarter in from the outer corner and draw another line that meets the first line to make a point. You now have the outline of your wing!
∘∘∘
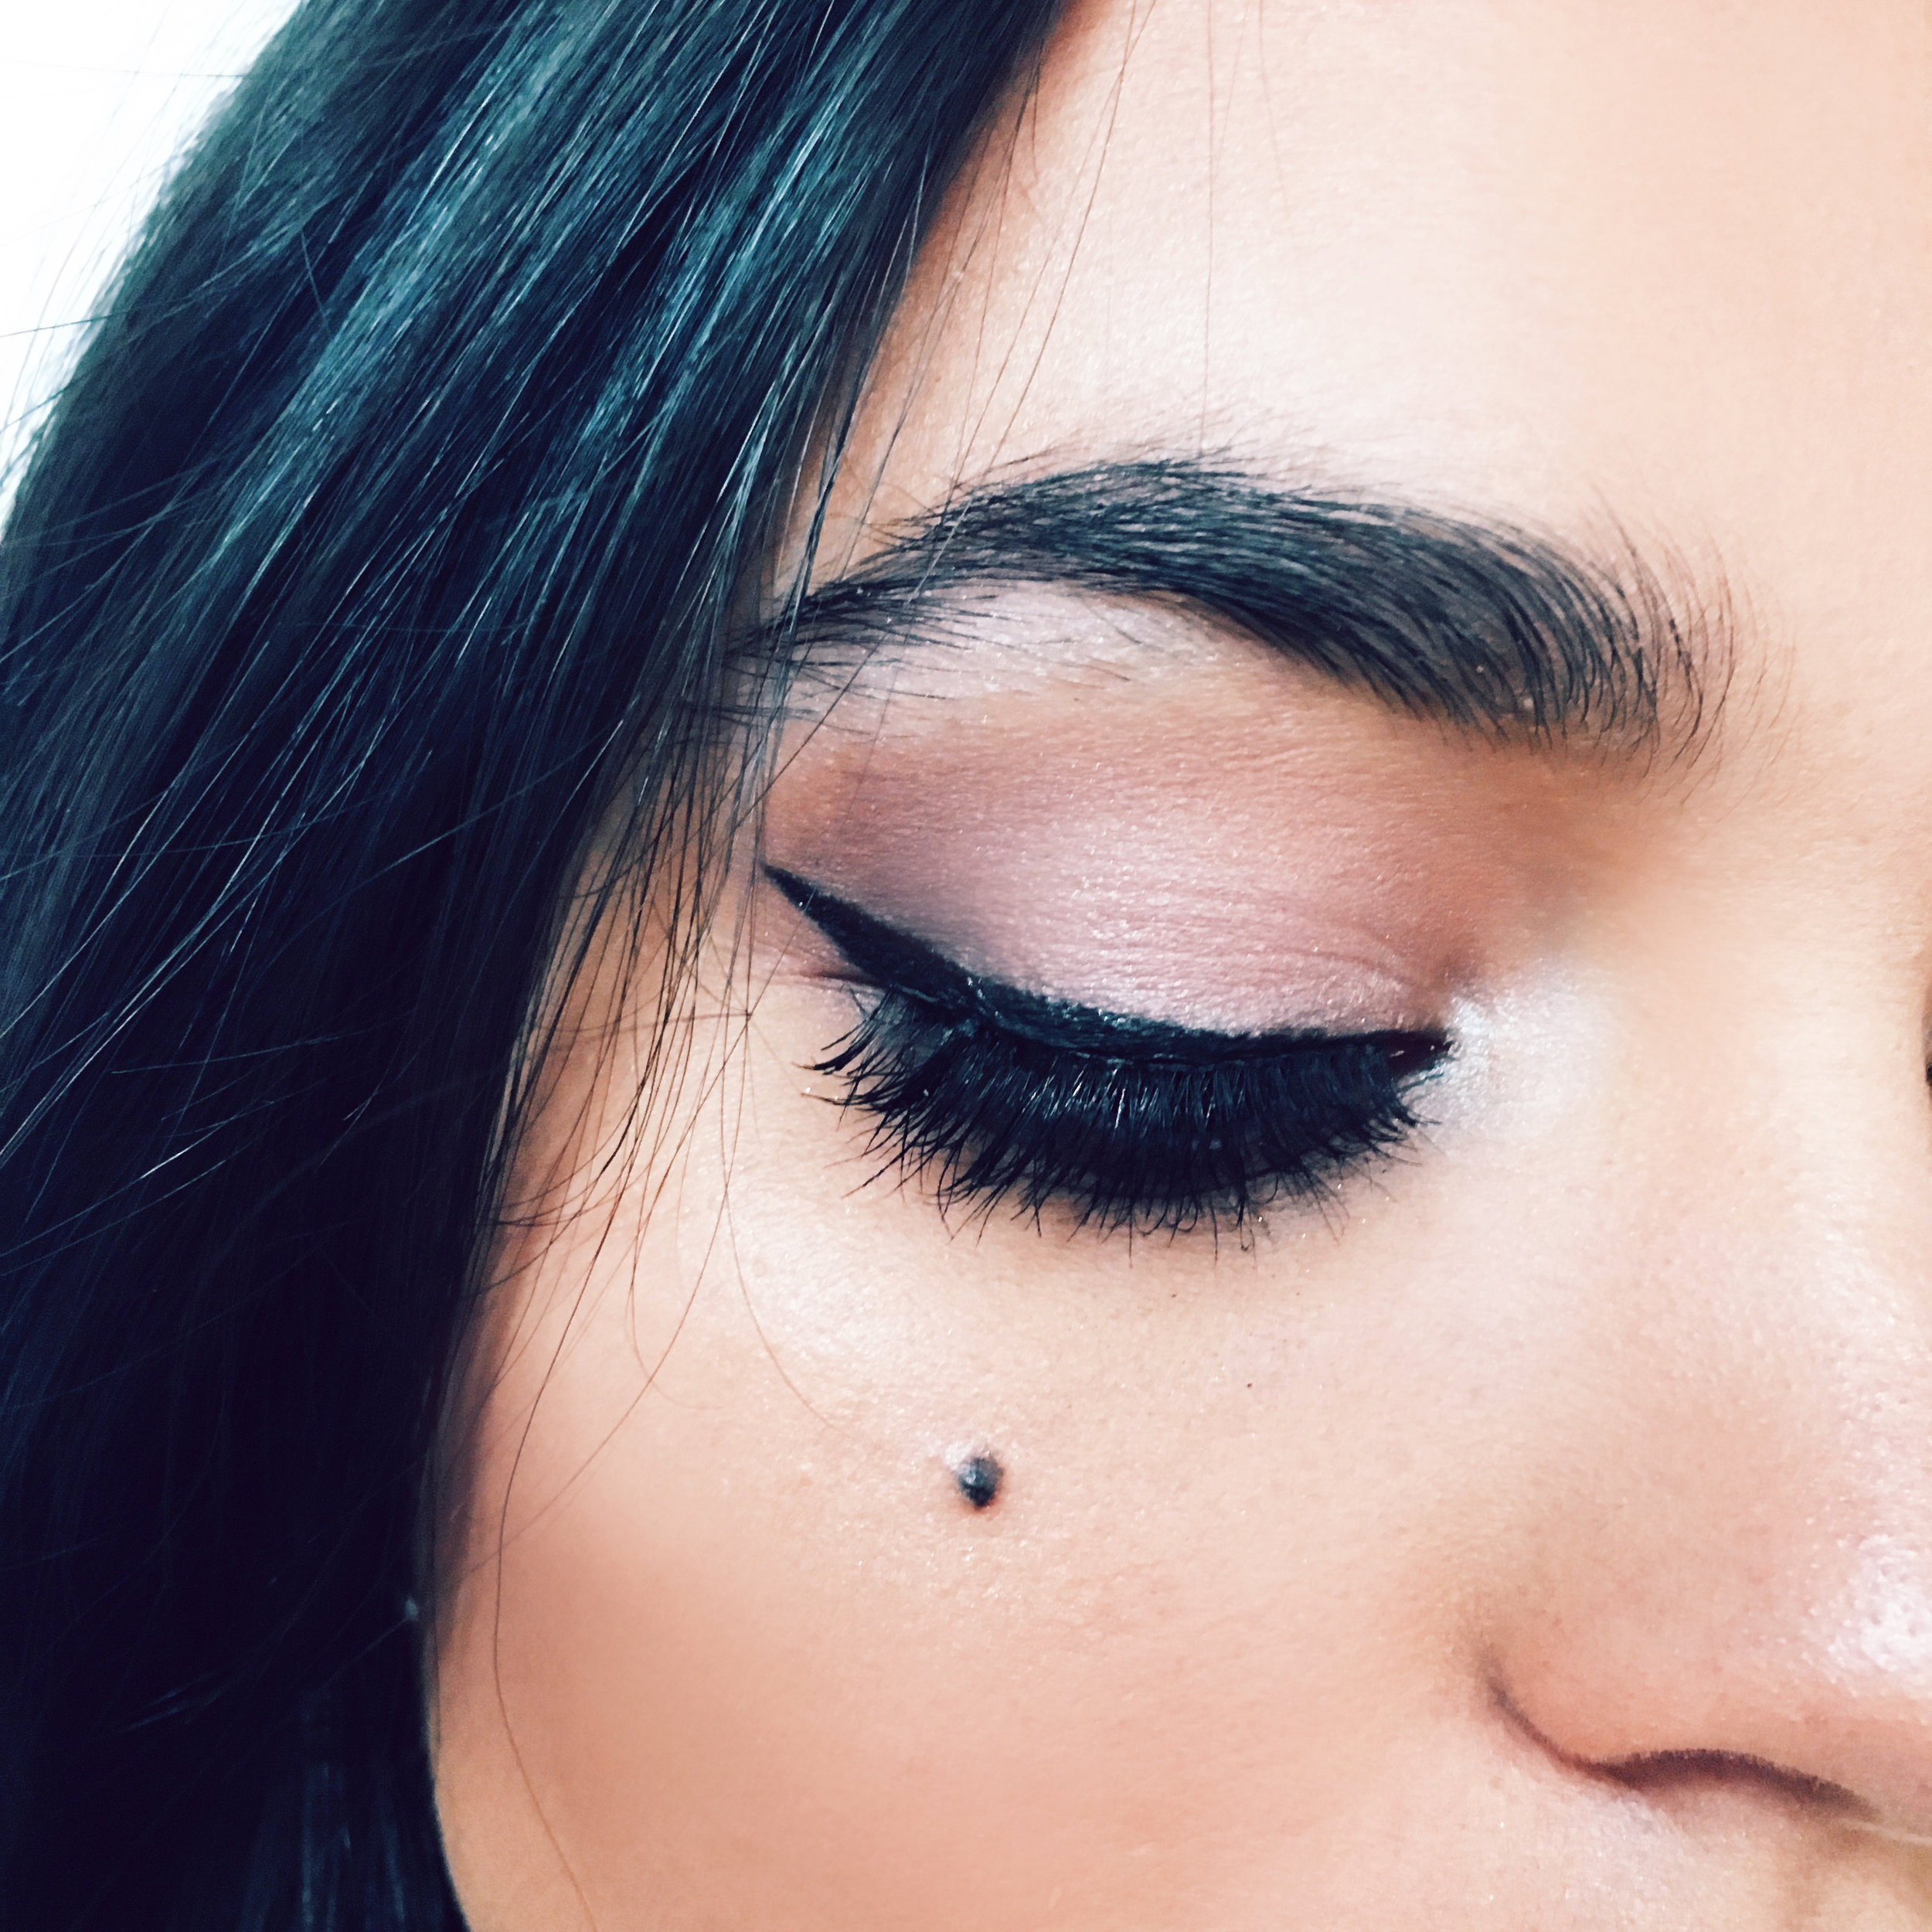 3. Finish up
Colour in the outline, making sure there are no gaps.
Then, starting from the inner corner, draw a line along your lashes. Try to get as close to the lash line as possible. At this point you can touch up any jagged edges in the wing.
TIP: Start thinner and add a little at a time. Practice, practice, practice.
∘∘∘
Now for the lashes...
To finish off this look, add a strip of lashes! Alana uses Ardell Natural 110 Lashes.


(Optional) For a more dramatic cat-eye look, add a couple of individual lashes to the outer corners of the eye. Alana uses Ardell Medium Double Individual Lashes.
∘∘∘
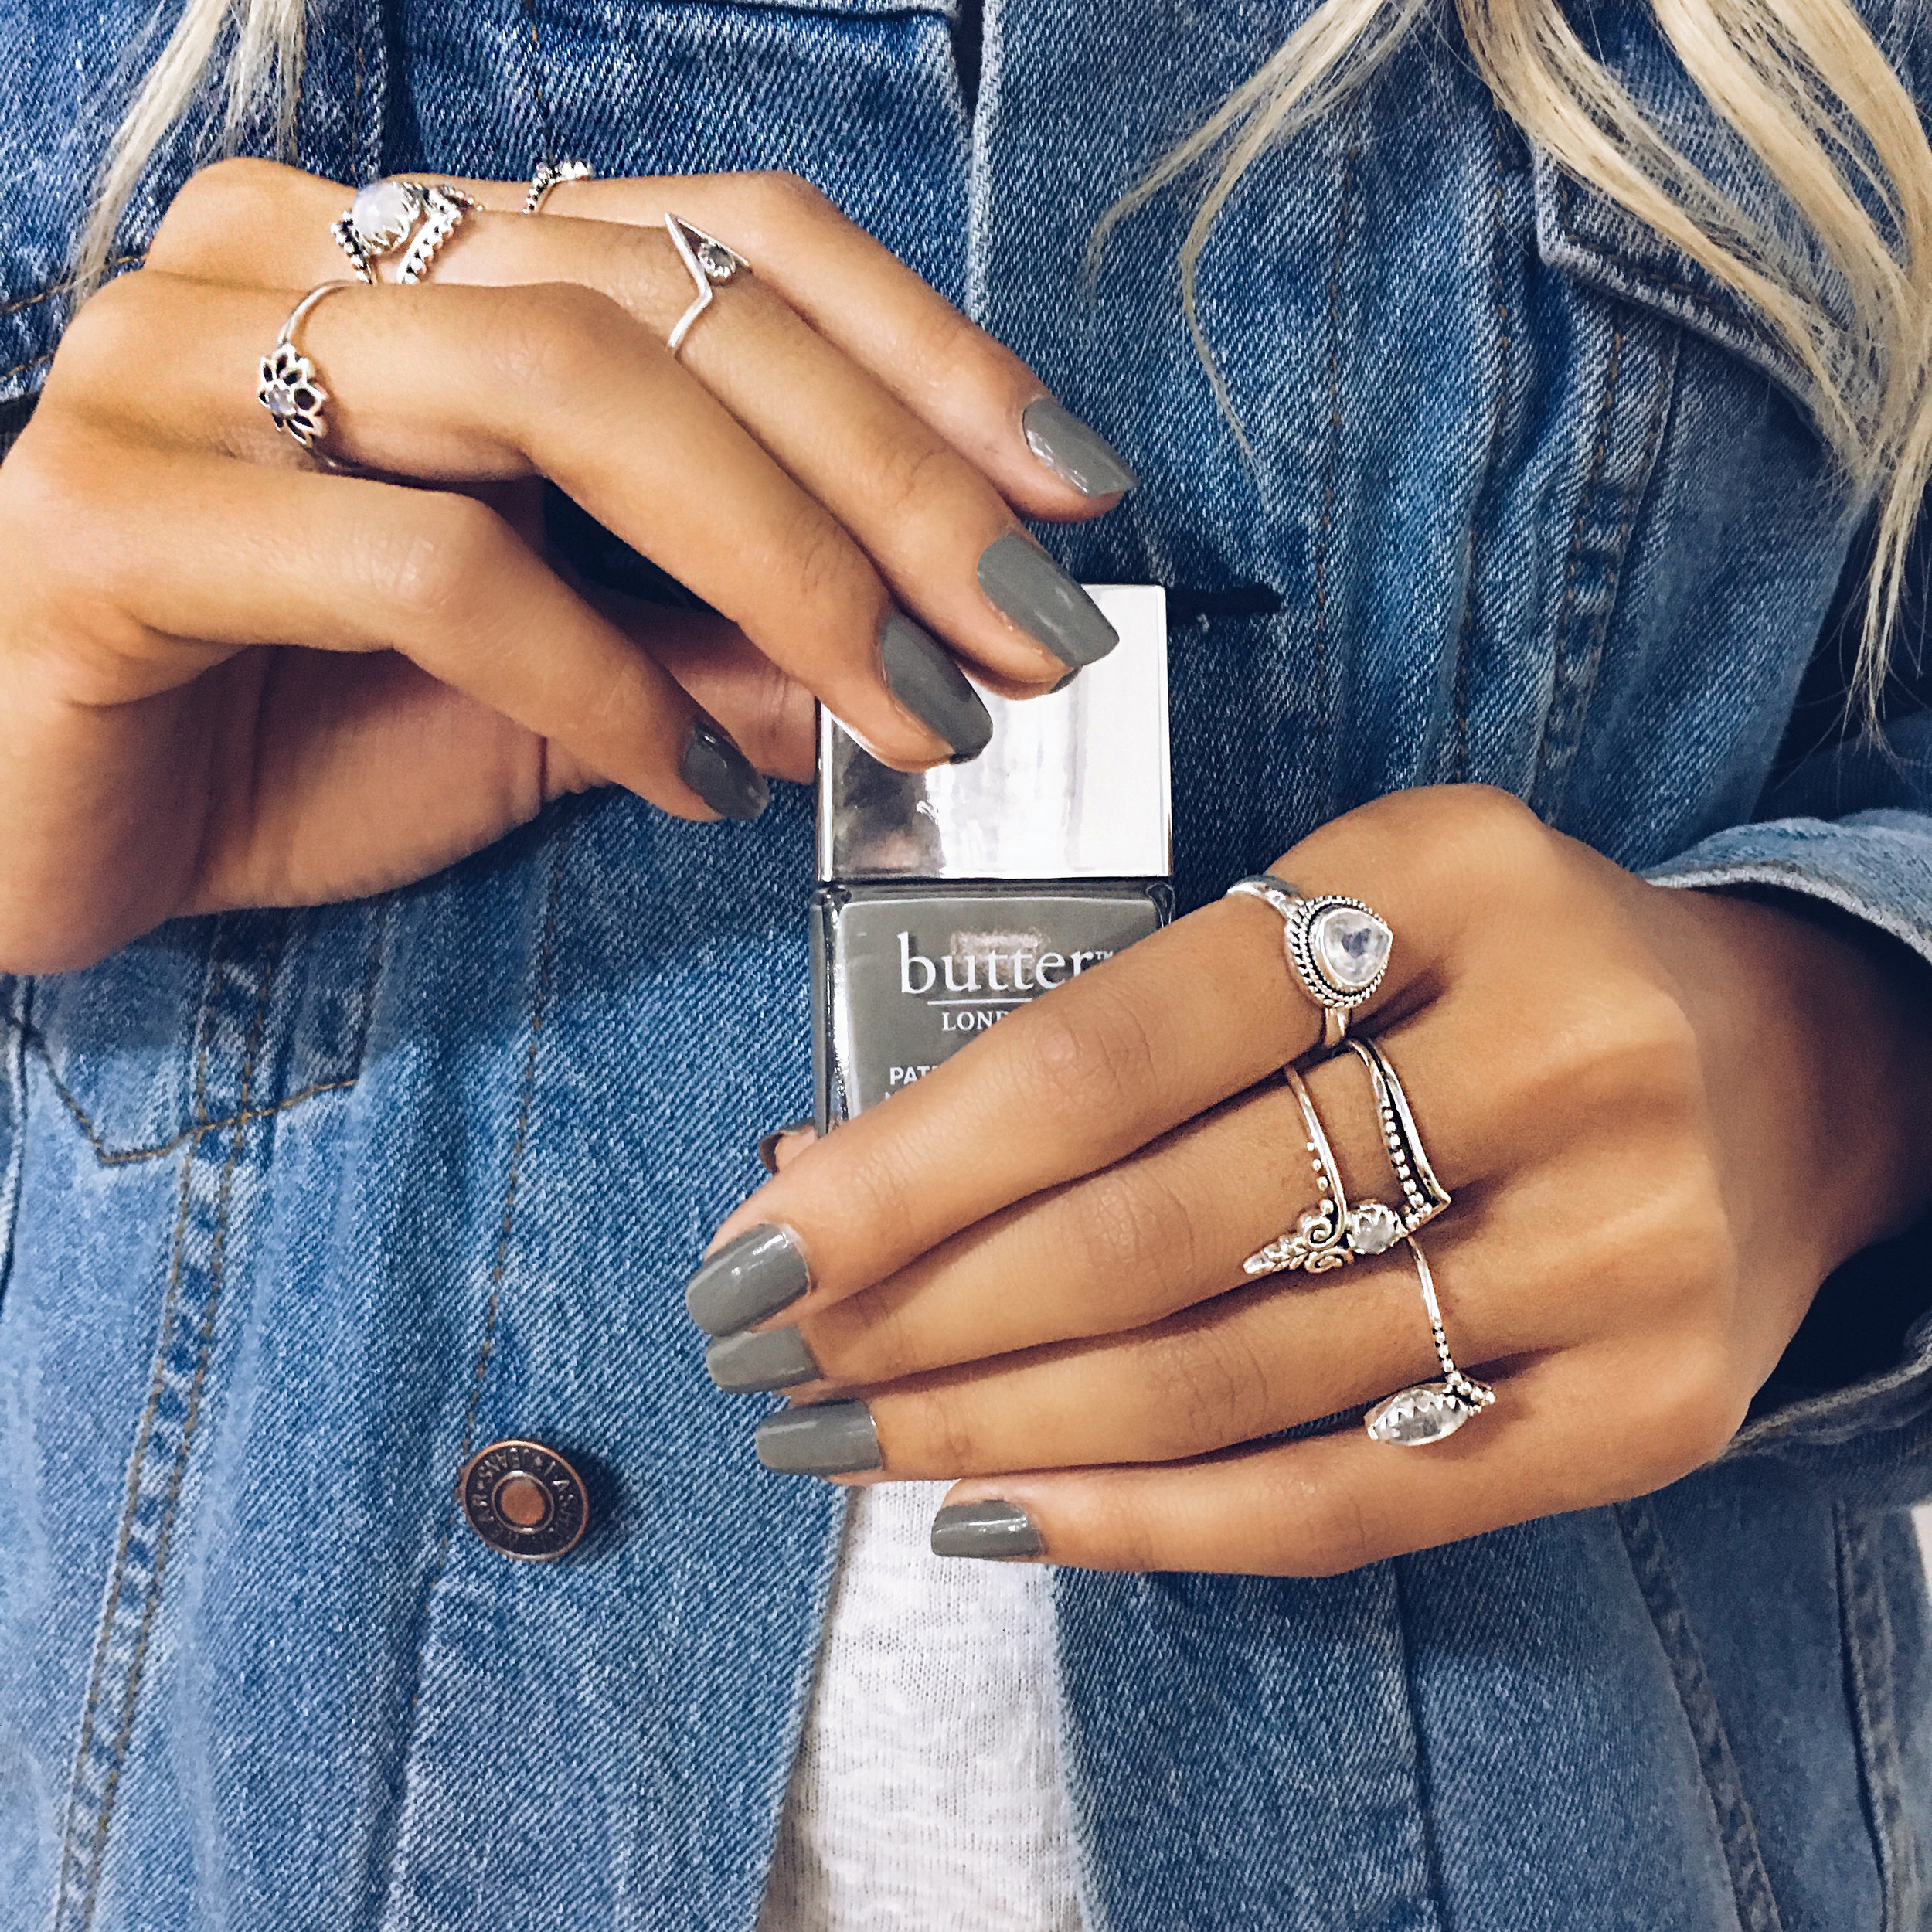
Nails
We painted Solange's nails with Butter London Over The Moon Patent Shine Lacquer.