DIY: Customise Your Dream Jacket

The Western Denim Jacket has long been our go-to denim jacket, and honestly, we didn’t think it was possible to improve perfection... until the Patchelorette. Keep scrolling to read our fool-proof, three-step formula for customising your dream jacket. Plus tips & tricks we learned while filming the Patchelorette.
THE 3 STEP FORMULA FOR YOUR ULTIMATE DREAM JACKET
STEP 1: START WITH A WESTERN DENIM
With it's vintage-style feel and light wash, the western denim is the perfect canvas for your dream jacket.
∘☆∘ SHOP THE WESTERN DENIM ∘☆∘
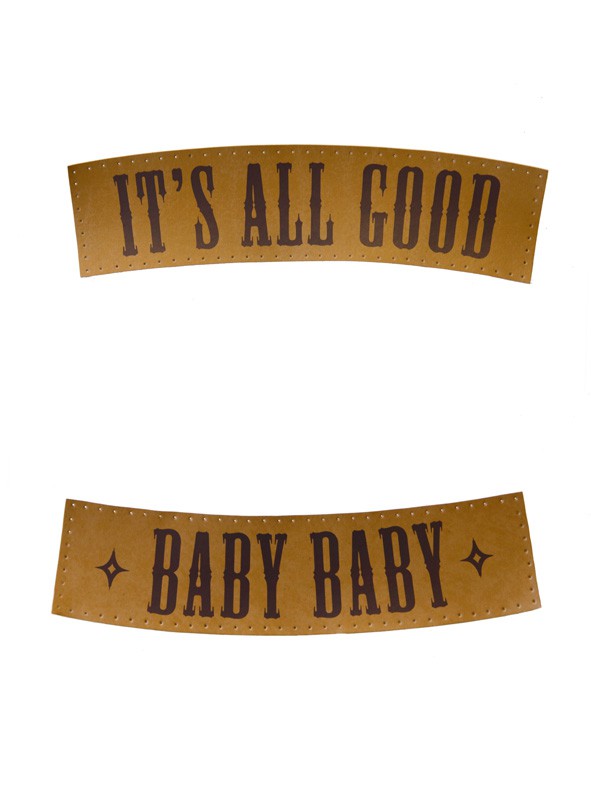
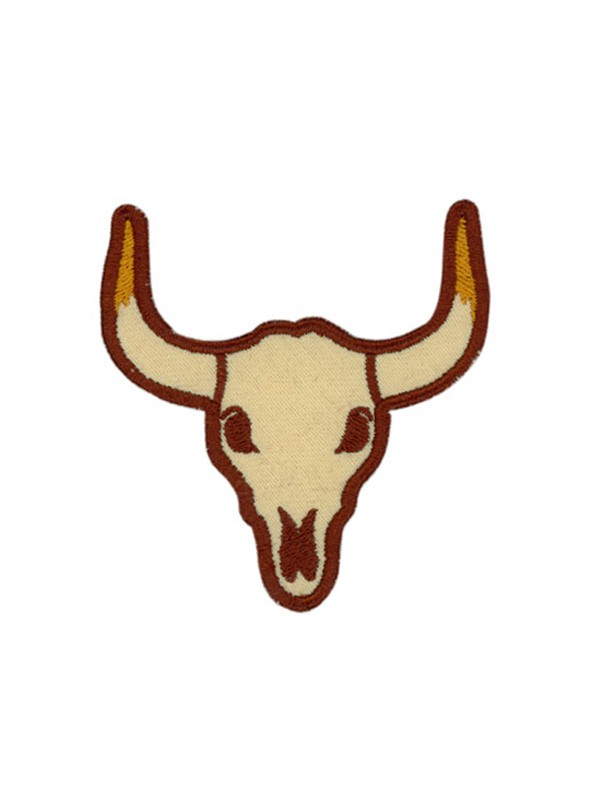
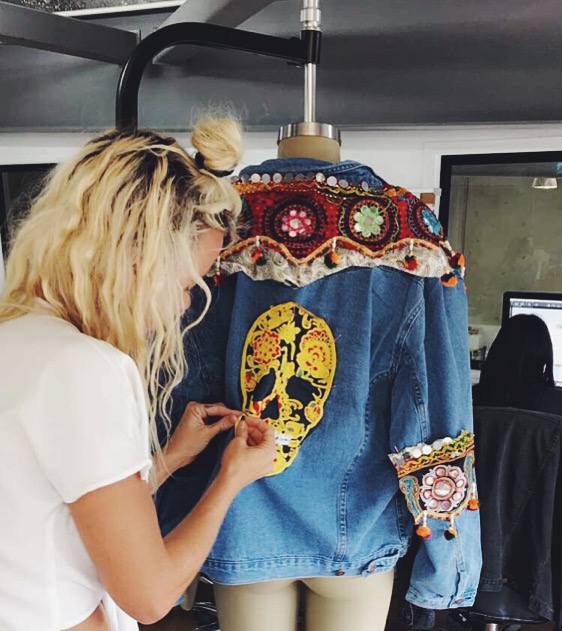
STEP 2: THEME IT AROUND 1-2 LARGE PATCHES. The first thing every girl in the Patchelorette did was choose one or two large patches for the back. For example, the Western Baby Baby Patch and the Large Sequin Cow Skull Patch.

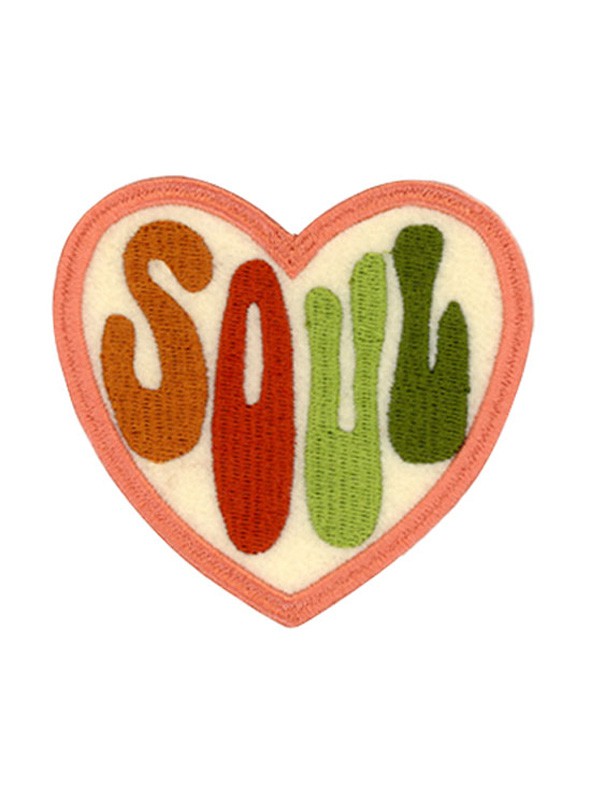
STEP 3: ADD SMALLER PATCHES. Choose a few smaller patches that go with your theme to decorate the back, sleeves and front. For example, the Soul Patch, Rock & Roll Patch, and the Cow Skull Patch.

HOT TIPS & TRICKS:
For taking your jacket to the next level.
- CUT UP OLD FABRIC: A free way to jazz up your jacket is to use fabric from old clothes, costumes, curtains, anything you don’t need anymore, and add them to your jacket. Sally mustang cut up an old skirt to make her jacket and it turned out incredible!
- GO TO YOUR LOCAL CRAFT STORE: If you’re not keen on cutting up your clothes, you can still get really cheap fabric from the craft store. You can also purchase fringe, tassels, ribbons gemstones, etc.
- IF YOU CANT SEW (or don’t want to): A hot glue gun is a great way to attach your patches if sewing is not your thing.
DONT FORGET TO VOTE FOR YOUR FAVOURITE JACKET!